User Interface
SpectroForge is organized into four views, selectable from the ribbon across the top of the window. Each view focuses on a different aspect of the instrument design workflow.
| View | Purpose |
|---|---|
| Layout | Core 2-D spectral design and parameter tuning |
| Mosaic Map | All slit × diffraction-order combinations |
| Straighten | Correct curved lines in a real detector image |
| 3-D Layout | Mechanical preview of the optical train |
Common UI elements
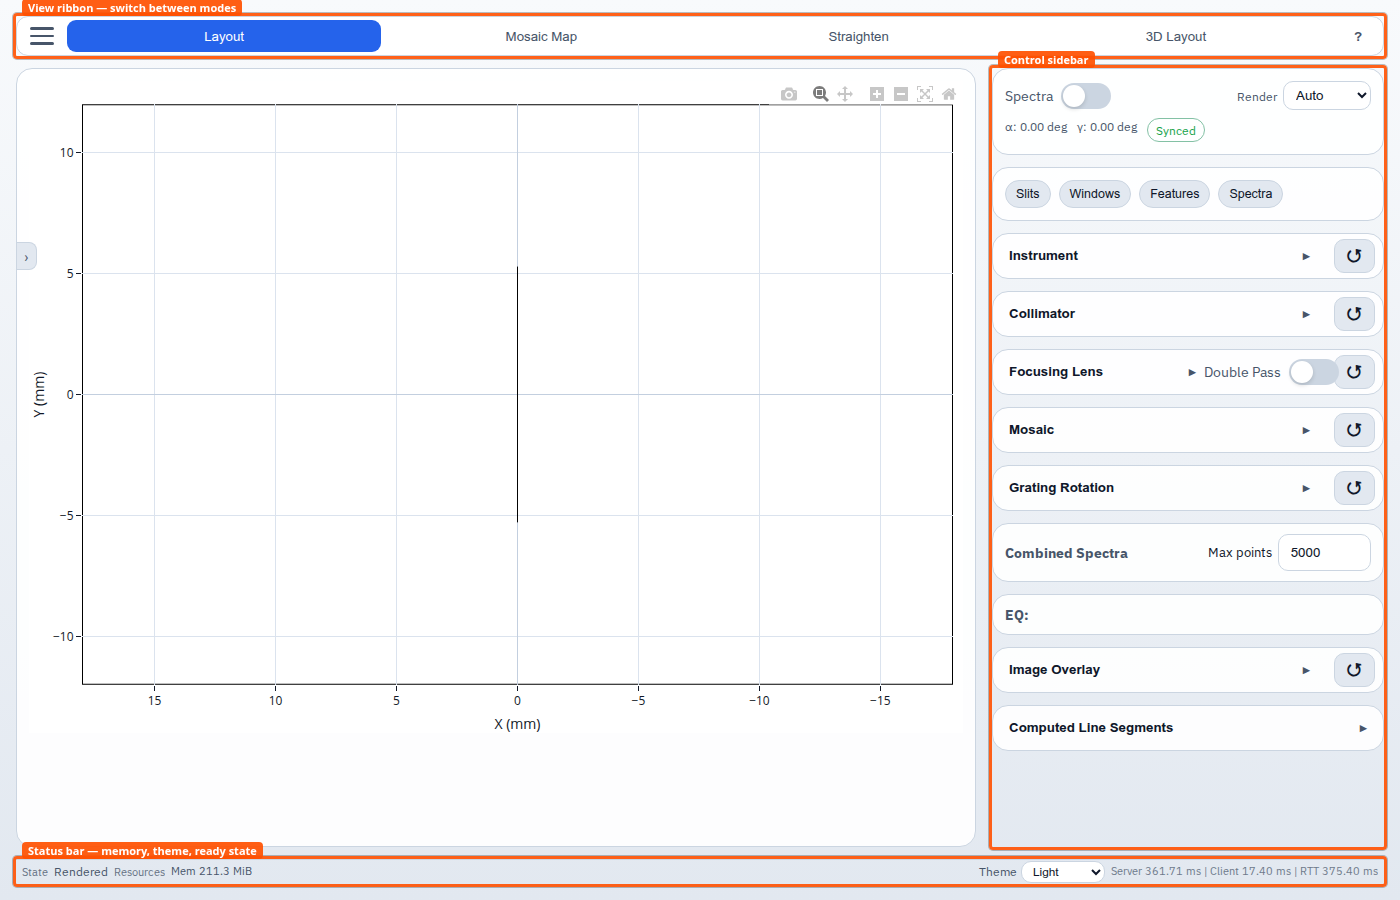
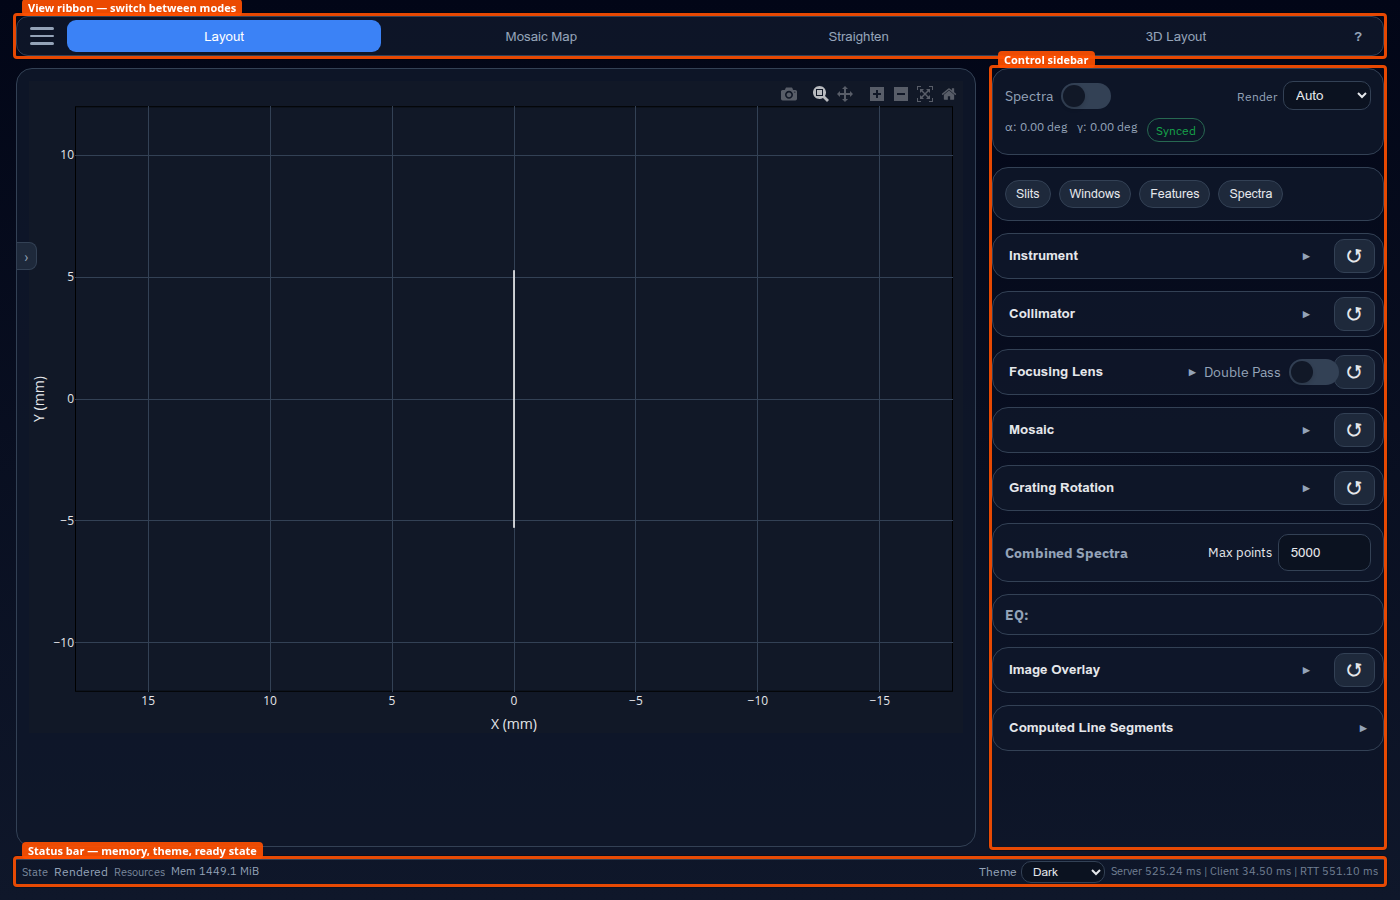
View Ribbon
The ribbon is always visible. Click a view name to switch. The ≡ button opens the floating action menu.
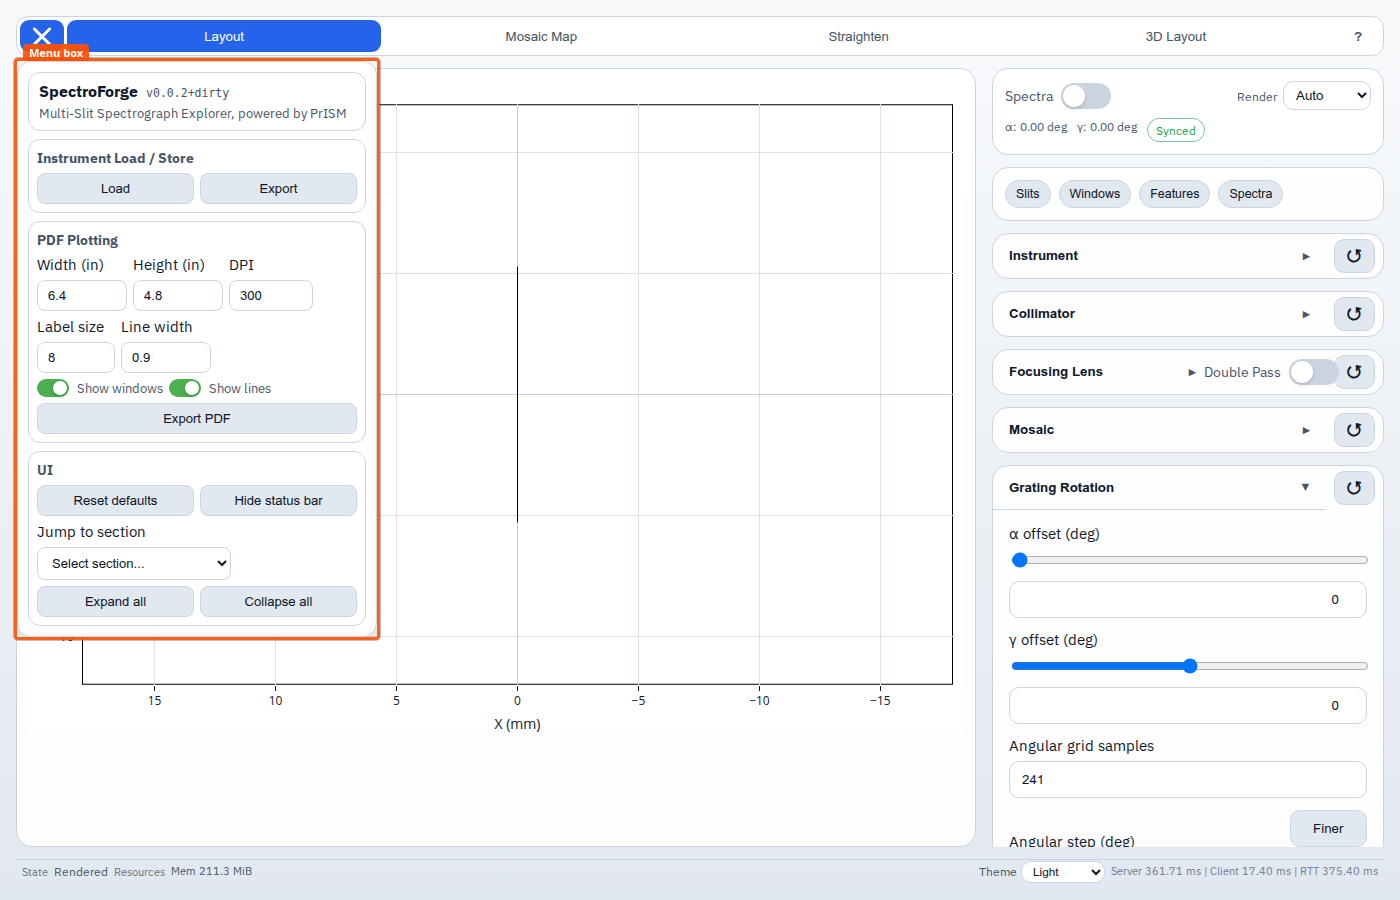
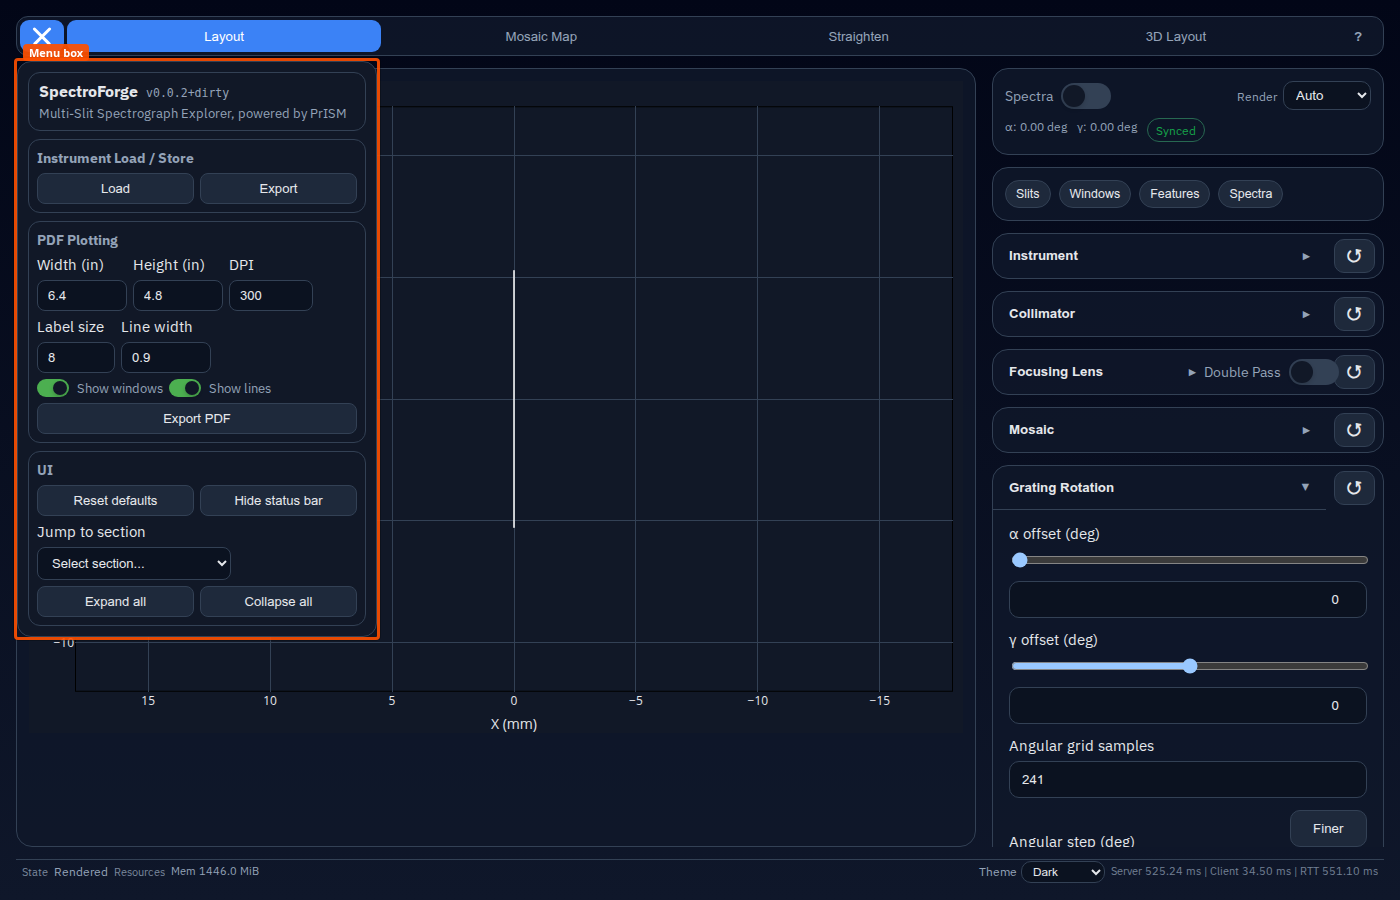
Action Menu
The collapsing menu (opened with ≡) provides:
- Instrument Load / Store — load or export a
.tomlconfiguration file. - Export PDF — configure and download a publication-quality figure.
- UI — reset defaults, toggle the status bar, jump to a sidebar section, expand/collapse all sections.
The menu bubble can be dragged anywhere on screen and snapped to any corner.
Status Bar
The bottom bar shows:
| Zone | Content |
|---|---|
| Left | Status badge: Ready, Rendering…, or Error |
| Centre | Server RSS memory usage |
| Right | Theme selector and render timing breakdown |
The status bar can be hidden via ≡ → UI → Toggle status bar to maximize the plot area.
Collapsible control sections
Every section in the right control panel has a ▸/▾ toggle in its header. Click the header to expand or collapse. The ↺ button beside the title resets that section to its default values.