Getting Started
Table of contents
Installation
Download the latest release for your platform from the Releases page.
| Platform | File |
|---|---|
| macOS | SpectroForge-<version>-mac-<arch>.dmg |
| Windows (x64) | SpectroForge-Win-x64-<version>.zip |
| Windows (ARM64) | SpectroForge-Win-arm64-<version>.zip |
| Linux (AppImage) | SpectroForge-<version>-linux-x64.AppImage |
| Linux (Debian/Ubuntu x64) | SpectroForge-<version>-linux-x64.deb |
| Linux (Debian/Ubuntu ARM64) | SpectroForge-<version>-linux-arm64.deb |
macOS
- Open the
.dmgand drag SpectroForge to your Applications folder. - On first launch, macOS Gatekeeper may block the app — right-click → Open to bypass.
Windows
- Download and extract
SpectroForge-Win-<arch>-<version>.zip. - Run the
SpectroForge-Setup-<version>.exeinstaller inside and follow the prompts.
Linux (AppImage)
chmod +x SpectroForge-*.AppImage
./SpectroForge-*.AppImage
Linux (deb)
sudo dpkg -i SpectroForge-*.deb
First launch
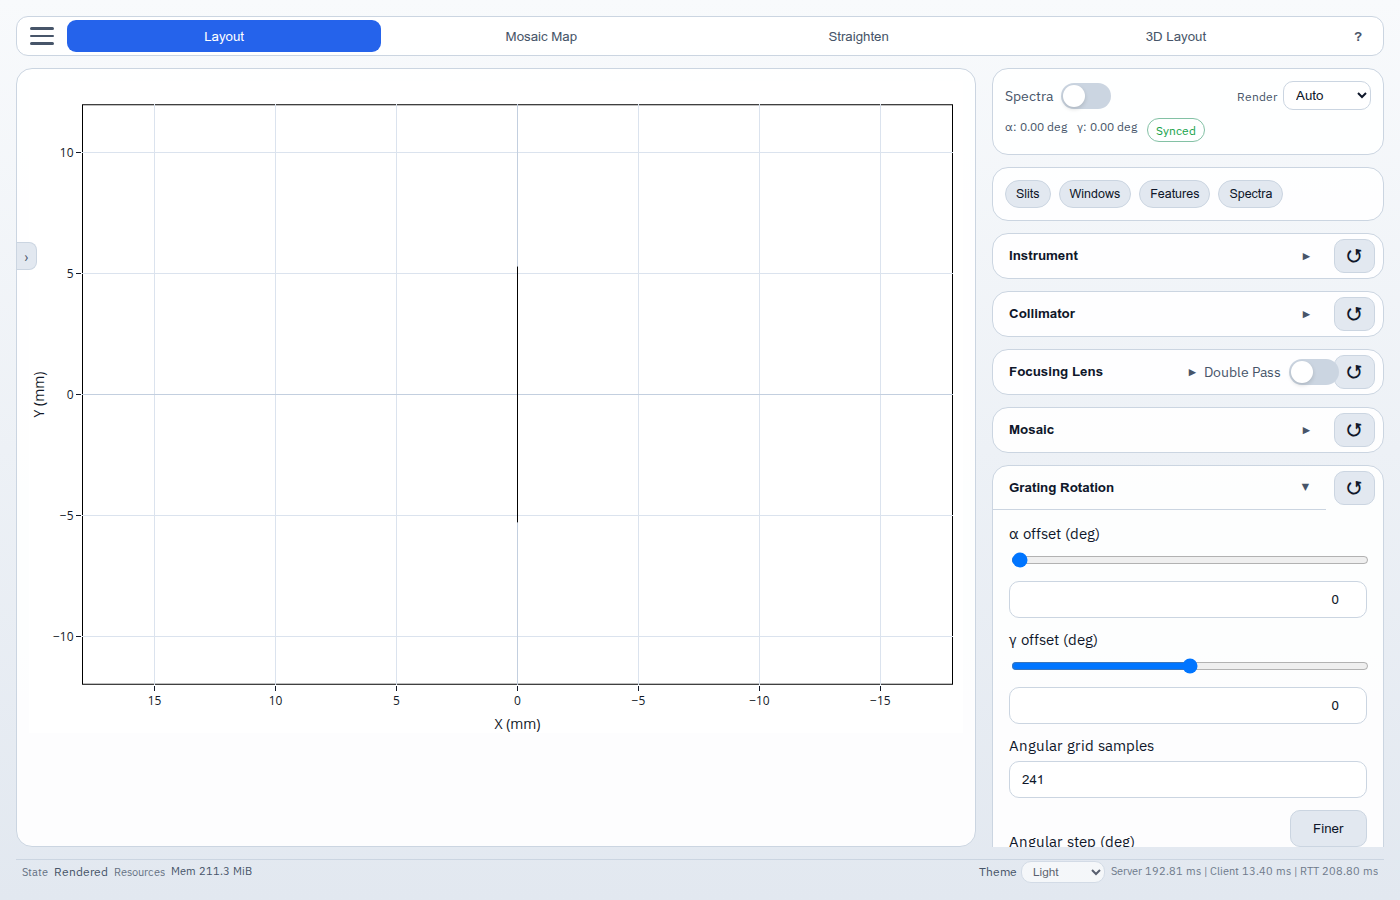
When SpectroForge opens, the browser-based UI loads automatically. You will see:
- A view ribbon across the top for switching between modes.
- A central plot panel (initially empty).
- A right-hand control sidebar with collapsible parameter sections.
- A status bar at the bottom.

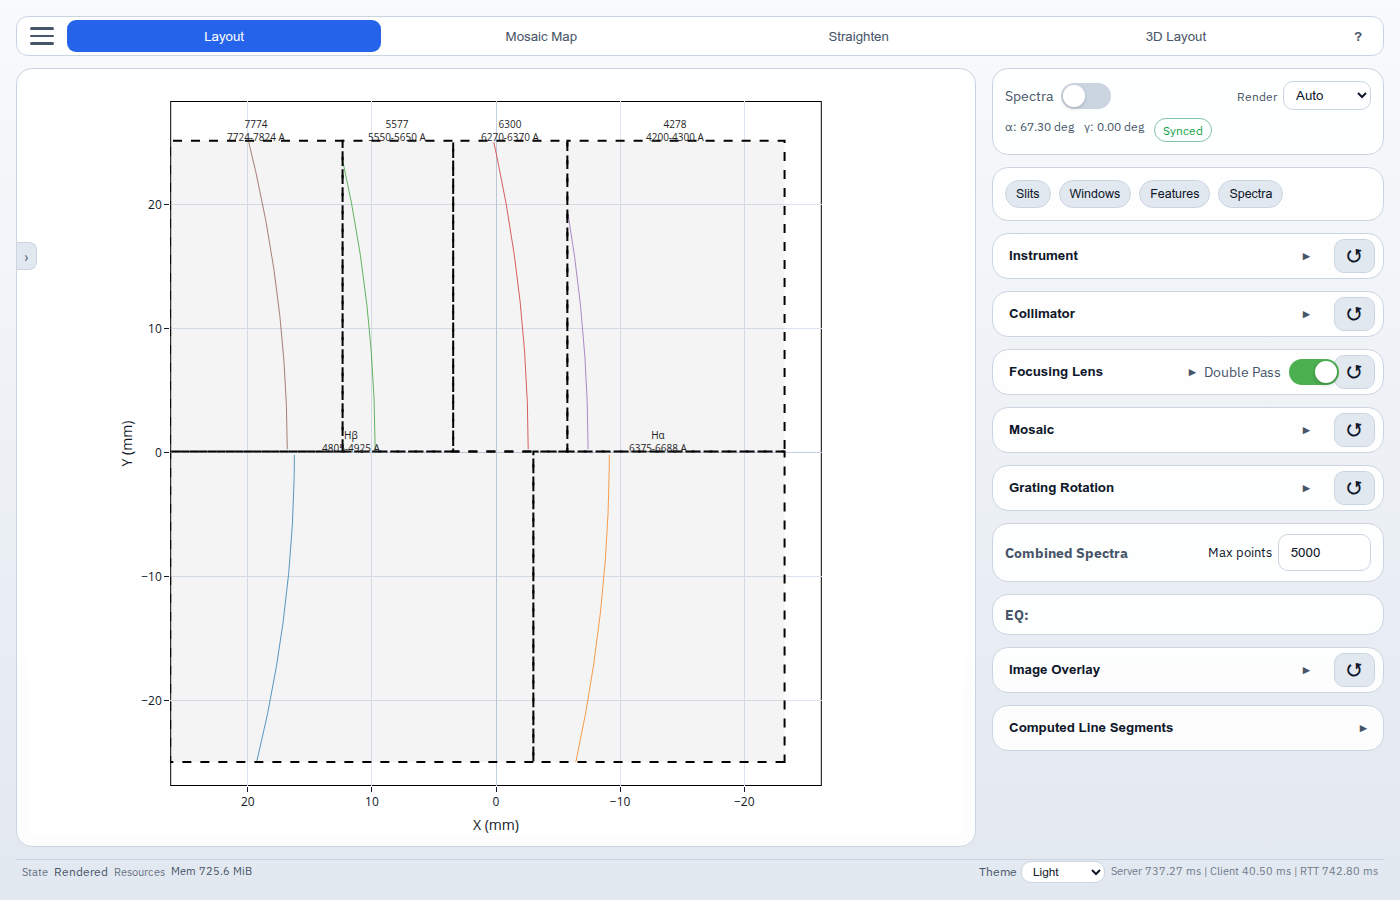
Load an example instrument
- Click the ≡ (menu) button in the top-right corner of the view ribbon.
- Under Instrument Load / Store, click Load.
- Select one of the bundled
.tomlexample files (e.g.HiTMIS-A 2021-instrument.toml). - The layout renders automatically — spectral lines appear in the plot.
Start from scratch
Fill in the Instrument & Grating, Collimator, and Focusing Lens sections in the sidebar, then add at least one Slit.
Interface overview
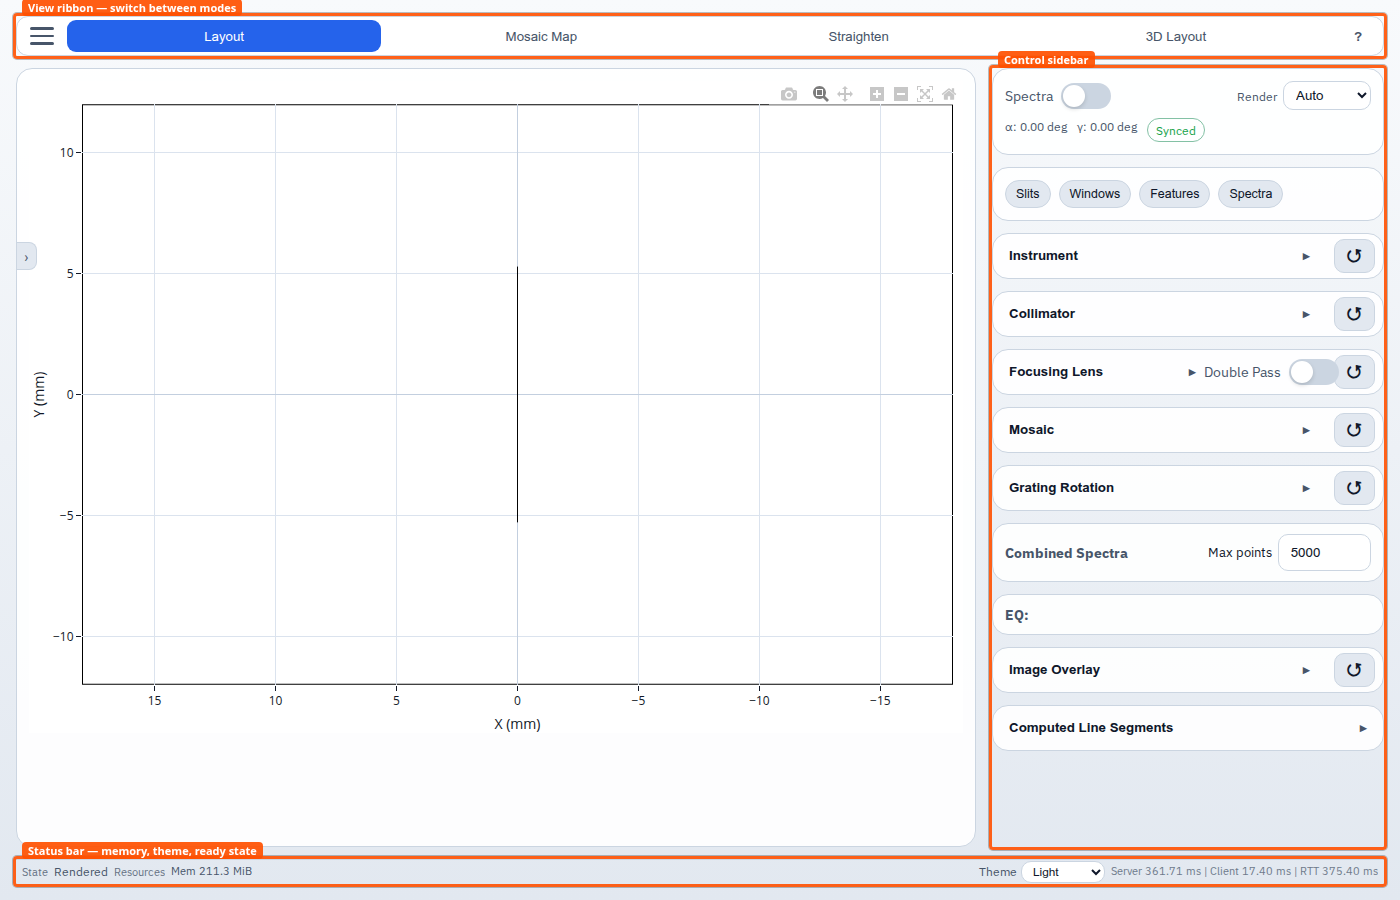
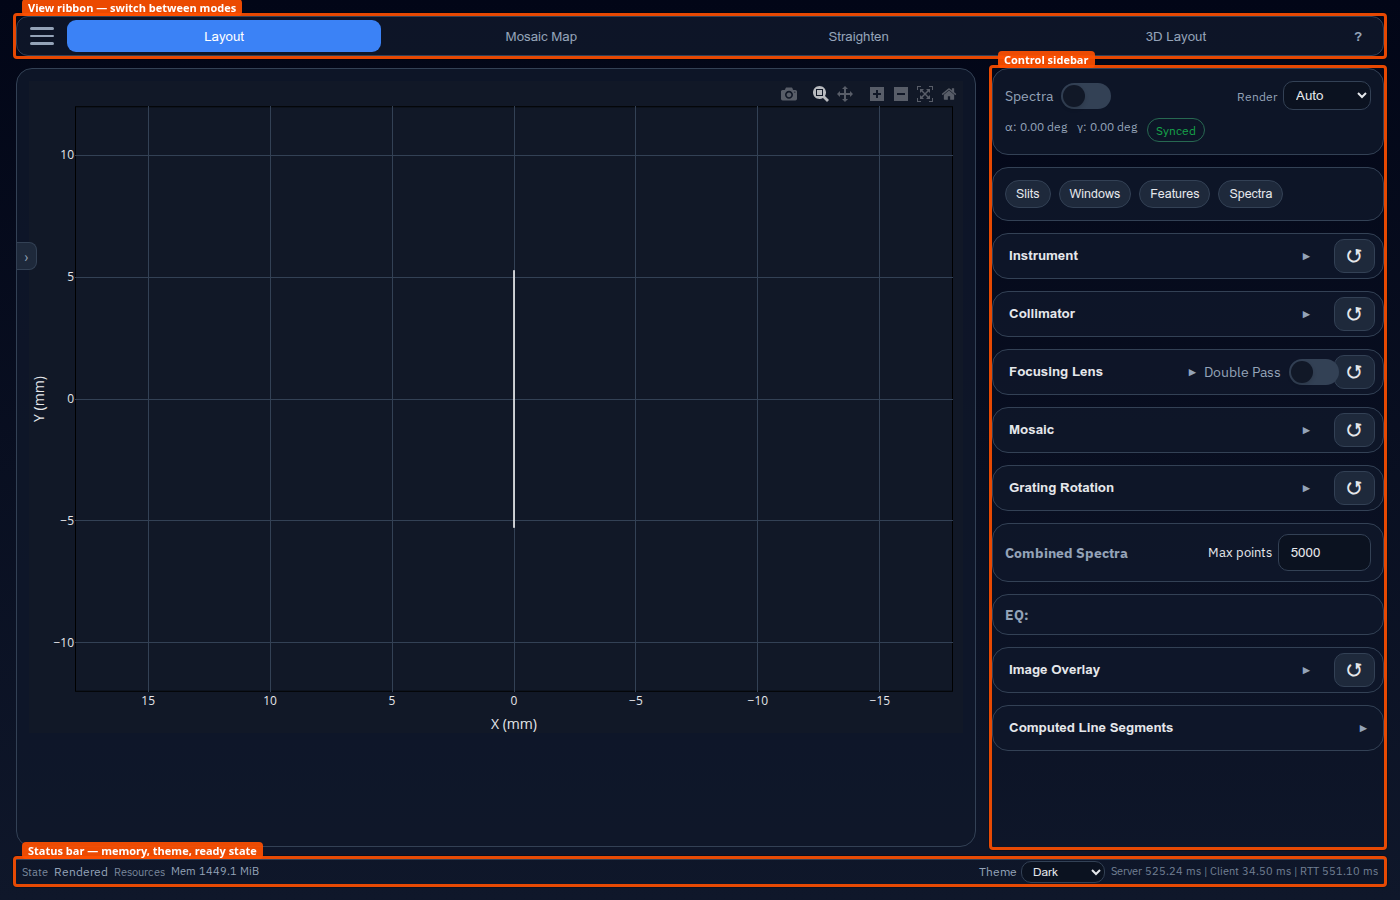
Render modes
SpectroForge supports two render policies, selectable in the Mode Summary card at the top of the sidebar.
| Mode | Behavior |
|---|---|
| Auto | Re-renders 280 ms after any parameter change. Good for exploration. |
| Manual | Only re-renders when you click Render. Good for batch edits. |
The dirty badge next to the render policy changes from Synced (green) to Unsaved changes (amber) whenever the current parameters differ from the last rendered result. The badge can be clicked to force a re-render immediately if you want to see the effect of your changes without waiting for the debounce timer.